Tuesday, April 29, 2014

Cheddar-Chive Egg Souffle


Here in New England, at the end of April, it feels like
such a relief to be leaving winter and to finally start
Finally... fresh chives from the herb garden!
seeing daffodils and some green grass.  The weather is still pretty cold, however, and the ground is muddy and squishy from all the rain.  The only perennial starting to peek out in the garden are the chives, which seem to be growing visibly taller each day.  The hens are also starting to feel the change in season and their egg production has picked up to almost a dozen a day.

This is a great recipe that uses both chives and eggs, so I decided to make this springtime dinner tonight with fresh ingredients.  The baked souffle looks light, fluffy, and complicated, but it's actually pretty easy and quick with less than 30 minutes in prep time.


Cheddar-Chive Egg Souffle

Ingredients:
- 5 tblsp. butter
- 3 tblsp. bread crumbs
- 1 1/2 cups milk
- 1/2 tsp. garlic powder
- 1/4 cup flour
- 1/2 tsp. salt
- 7 eggs, yolks and whites carefully separated into different bowls
- 1 1/2 cups cheddar cheese, shredded
- 2/3 cup fresh chives, coarsely chopped

Directions:
1. Preheat oven to 375 degrees F.  Coat a 2-quart casserole dish with 1 tblsp. butter.  Dust dish with breadcrumbs.

2. In a medium pot over medium-high heat, bring milk and garlic powder to a simmer.  Reduce heat to low.  In another medium pot over medium heat, melt the rest of the butter.  Stir in flour and cook for 3 minutes.  Add milk to butter-flour mixture while stirring.  Cook and stir until mixture is smooth and has thickened, about 5 minutes.  Remove from heat and stir in salt.

3.  In a large bowl, whisk the egg yolks.  Temper the yolks by whisking in a cup of the milk-flour mixture in a slow stream.  Continue to whisk in the remaining milk-flour mixture.  Stir in the cheese and chives.

4.  In a medium bowl, use an electric mixer on medium-high to beat the egg whites until stiff (but not dry) peaks form.  Using a spatula, stir 1/3 of the egg whites into the cheese mixture, then fold in remaining whites.  Pour into casserole dish.

5. Bake until souffle has risen about 3 inches and top is golden brown, about 40-45 minutes.  Do not open oven door until souffle has baked for at least 30 minutes.


Join the ink Party fun!  This post linked up to... Whimsy Wednesday and Wildcrafting Wednesday and Cast Party Wednesday and Wicked Awesome Wednesday and What's It Wednesday and Wednesday Whatsits and Down Home Blog Hop and Fabulously Frugal Thursday and Share Your Cup and Home & Garden Thursday and Recipe Round-Up and HomeAcre Hop and Green Thumb Thursday and Thursday Favorite Things and From the Farm Blog Hop and Simple & Sweet Fridays and Home Sweet Home and Show-Off Friday and Show and Tell Friday and Be Inspired and Thrifty Things Friday and Foodie Friday and Frugal Friday and Simple Saturdays and Simply Natural Saturdays and Clever Chicks Blog Hop and Motivation Monday and Sunday Best Link Party and Sunday Showcase and Melt in Your Mouth Monday and Homestead Barn Hop


Sunday, April 27, 2014

Vintage Tablecloth


Last week, I visited my Mom's house and she had an adorable vintage table runner on her small kitchen table.  It was originally a tablecloth with some stains that would not come out, but it was too sweet to toss.  She gave it to a friend who enjoys sewing.  MaryLou decided to make the unstained parts into table runners and gave one back to my Mom.  I'm a sucker for a cute kitsch design!


I'm not a vintage tablecloth expert, but after doing a little reading I think it may be from the 1940's or 1950's.  During the 1940's, after World War II, popular tablecloth designs included people and animals, farm and farmhouse scenes, and kitchen themes.  Scenes were often what we would now call "kitsch".  This smiling granny, knitting in front of a warm stove with her cat, is certainly "kitsch"!


Screen-printing became popular and four or more colors in a tablecloth were common.


The 1950's saw a continuation of quirky, fun scenes and bright colors.  More modern dyes, printing techniques, and fabrics allowed a wider range of designs and colors.  Kitchen themes, which included utensils, food, vegetables, dishes, bottles, teapots, and kitchen furniture, were especially popular.  Stylized florals and bold shapes were worked into designs.


I also love the wood grain pattern in the background and how the bold shadows make the objects stand out.  I'm glad this tablecloth could be saved!


Resources:   Grama's Attic and Fabrics.net

Join the ink Party fun!  This post linked up to... Motivation Monday and Homestead Barn Hop and Monday FunDay and Make It Pretty Monday and The Scoop and Made By You Monday and Tweak It Tuesday and Knick of Time Tuesday and Nifty Thrifty Tuesday and Inspire Me Tuesday and Totally Talented Tuesdays and You're Gonna Love It Tuesdays and Backyard Farming Connection and Tuesdays with a Twist and One Project at a Time and Trash 2 Treasure Tuesday and Whimsy Wednesday and Cast Party Wednesday and What's It Wednesday and Cottage Style Party and Before & After Wednesday and Down Home Blog Hop and Fabulously Frugal Thursday and Share Your Cup and Home & Garden Thursday and Treasure Hunt Thursday and HomeAcre Hop and Thursday Favorite Things and From the Farm Blog Hop and Simple & Sweet Fridays and Home Sweet Home and Show-Off Friday and Show and Tell Friday and Be Inspired and Thrifty Things Friday and Frugal Friday and Simple Saturdays and Silver Pennies Sunday and Clever Chicks Blog Hop and Sunday Best Link Party


Thursday, April 24, 2014

How to Root Geraniums & Coleus


I have rooted many of my own plants for years, trying different techniques from soil layering to using rooting hormones.  By far, I have found that the easiest plants to root from cuttings are geraniums and coleus.  It's a quick and easy way to propagate a lot of new plants completely for free!


Several rooted coleus plants.
I plan on propagating a lot of plants this way so I don't have to buy as many.  Traditional varieties of geraniums do well in sunny beds, pots, or hanging pots and don't mind dry conditions.  Martha Washington varieties (aka Regal) are less tolerant of dry, hot conditions; however, they make especially beautiful plants for pots because they will cascade over the sides.  Coleus come in a wide variety of patterns and colors and are excellent for shade or partial shade beds or pots.
Both geraniums and coleus can be overwintered in pots in the house.  If they don't look so great, they can be put in the cellar near a window until spring, as long as they continue to get watered.  (Geraniums don't mind dry soil between watering but coleus will wilt if the soil is dry.)  They will tend to get leggy and overgrown, but that's actually a good thing for taking cuttings!  If you don't already have plants, you can buy a big plant in early spring and take cuttings from that.  From the time you take the cuttings, rooted plants will be ready to plant in about 2-3 weeks.

How to Root Geraniums and Coleus

1.  Using scissors or kitchen shears, take cuttings by snipping off sections of stem right above leaf nodes.  A cutting should include a length of stem with at least two leaves and one additional leaf node.

A leaf node is a bumpy spot along the stem which may or may not have a leaf or stem coming out.  (See the photo below for two leaf nodes along the lower part of the stem.) Cutting off right above a node will encourage the plant to create new stems and leaves from that node, creating a bushy plant.  A node is also the place where new roots can grow from.  Nodes have natural hormones which encourage new growth, whether it's leaves, stems, or roots.

Geranium cuttings from soft, newer growth tend to root the quickest.  You can also try cuttings from older growth, but I have found they take longer.

A geranium cutting showing two leaf nodes along the bottom half of the stem.

2.  On each cutting, trim off any stem slightly below the lowest node, like I did with the geranium above and the coleus below.  Extra stem may rot and cause problems.  Roots will sprout from the node, not the smooth stem.
A coleus cutting showing a leaf node at the bottom.

If you have a really overgrown plant, you can cut a long stem into a few cuttings.  I got two cuttings from this geranium stem.

This was one long stem cut into two cuttings.
3.  Pinch or cut off any leaves from the lowest leaf node, or any part of the stem that will be in the water.  Leaves in the water may rot.


This honey jar from a local farm was the perfect size.
4.  Place the cuttings in jars filled with plain water.  The lowest nodes should be submerged.  Leave the jar in a sunny place.  Add more water as needed and remove any stems that look like they may be rotting.  Cuttings can be planted in 2-3 weeks.

Old-fashioned gardeners in my family swore by using brown-tinted glass jars and bottles for starting cuttings.  Maybe the dark encourages growth?  The next time I come across a brown glass jar, I'm going to try cuttings in both the brown and clear to see which works better.


A baby food jar worked well for some little cuttings.


Join the Link Party fun!  This post linked up to... Green Thumb Thursday and Home & Garden Thursday and Home Sweet Home and Show & Tell Friday and Simple & Sweet Fridays and Thrifty Things Friday and Be Inspired and Frugal Friday and Fridays Unfolded and From the Farm Blog Hop and Show-Off Friday and Link Party Palooza and Simply Natural Saturdays and Simple Saturdays and Get Schooled Saturday and Silver Pennies Sundays and Clever Chicks Blog Hop and Motivation Monday and Homestead Barn Hop and Monday FunDay and Make It Pretty Monday and The Scoop and Made By You Monday and Tweak It Tuesday and Nifty Thrifty Tuesday and Inspire Me Tuesday and Totally Talented Tuesdays and You're Gonna Love It Tuesdays and Backyard Farming Connection and Maple Hill Hop and Tuesdays with a Twist and Tuesday Garden Party and One Project at a Time and Whimsy Wednesday and Wildcrafting Wednesday and Cast Party Wednesday and Wicked Awesome Wednesday and What's It Wednesday and Cottage Style Party and Wednesday Whatsits and Penny Pinching Party and Before & After Wednesday and Down Home Blog Hop and Fabulously Frugal Thursday and Share Your Cup and HomeAcre Hop and Thursday Favorite Things


Friday, April 18, 2014

Tapeworms & Chickens... Advice Needed!


Two weeks ago, I decided to call my veterinarian about my flock of 19 chickens.  My old hen, a 5-year-old Rhode Island Red who is the only one left from our previous flock, was having diarrhea and, as a result, skin scald.  (Sorry about the nasty photo of her problem!)  Many of the others were having strange patterns of feather loss: on their backs as well as underneath between their legs and up the chest.  At first, I thought they were simply molting or our one rooster, Fabio, was pulling their feathers out during mating.

I know... pretty gross!  Poor Mrs. Chicken  before
her bath.  She had diarrhea and then skin scald.
I'm all for trying natural home-remedies when possible, but I looked through my two chicken-raising books and reputable online sites, and couldn't pinpoint the problems.  My veterinarian suggested I bring in my Rhode Island Red and another one with the worst feather loss, plus several droppings samples.  He couldn't find any trace of external parasites (mites/lice) and it did not look like molting.  We came to the conclusion that the feather loss was due to either the rooster mating or hens picking at each other, or a combination, and suggested we try to get more space for them.  This made sense, since they do have an outdoor run but refused to go outside in the snow all winter.  So project number one for this summer: build a bigger coop.

Mrs. Chicken getting a bath in the utility tub.
She was really calm and I think she liked the bath.
I had to get all of the matted droppings out of her feathers
and off her skin.
My Rhode Island Red (named "Mrs. Chicken" by our kindergartener) was having some kind of intestinal problem with the diarrhea and we hoped that the droppings sample might tell us more.  The vet recommended I bathe her to help the skin scald, which I did that night.  In fact, she seems to have gotten past the diarrhea and her "rear-end" feathers have remained fluffy and clean since.

However, we got very bad news when the fecal sample test came back.  They had tapeworms.  Apparently, many types of worms are fairly common in chickens, but tapeworms are unusual.  They could have gotten the tapeworms from being in contact with mice or eating earthworms and other insects.  I have seen the occasional little field mouse in the coop, but the chicken feed is kept in closed garbage cans.  The flock also has daily access to an enclosed outdoor run and I give them arm fulls of weeds and lots of table scraps.  So while their access to insects and mice is limited, it's clear that they came into contact with something that carried the tapeworms.

After talking to my vet several times and doing my own research, I'm still indecisive on our next steps.  There is a wormer called Praziquantel which will kill tapeworms (tapeworms are not killed by most wormers, but they are killed by this specific one).  It can be purchased as "GTWormer" or "Worm-Out Gel".  Worm-Out Gel can be added to the drinking water.  It's approved for human use when people get tapeworms, so it's pretty safe.  I have found some information (below) which says there should be a 7-day withholding period before eating the eggs again.  However, with trying to give my kids organic foods, having eggs with traces of medication in them seems to defeat the purpose of raising our own chickens.

A nice fluffy, clean rear end after the bath!


While I appreciate natural cures, I obviously don't want to take the chance with myself or my kids getting tapeworms.  To make things more complicated, tapeworms often do not show up in fecal testing, so just bringing another dropping sample to the vet, after treatment, would not prove
that they are free of tapeworms.  In the future, there are some natural ways to prevent worms, such as pumpkin seeds and nasturtium, that I will use as well.


This information about tapeworm treatment is from an avian veterinarian at www.birdhealth.com:
"A high percentage of chickens may be infected with tapeworms if they are reared on range or in backyard flocks. These parasites are found more frequently during warmer seasons when intermediate hosts are abundant. Tapeworms may obstruct the intestine of an infected bird in the same way as roundworms. Tapeworms are more ribbon like and clump together in a tangled mass of thin strands whereas roundworms are more spaghetti like in appearance. 
Worm treatments containing praziquantel are used to kill tapeworms. Two follow up treatments at 3 week intervals are then recommended. Routine three monthly seasonal treatments together with control measures against flies, beetles, slugs, snails, earthworm ingestion is necessary to prevent further infection. 
Tapeworm problems are more widespread when insect activity peaks during the warm spring, summer and autumn months. Insect control is a necessary part of tapeworm treatments if recurrent outbreaks are to be avoided...
...Moxidectin and Praziquantel - GTWormer (5mls/2 litres of drinking water for 2 days) This is a combination tapeworm, general worm and lice treatment...
... Adult chickens
Adult chickens do not require as frequent worm treatments as the young chickens. Instead they should receive strategic treatments at times when worm infection is most likely to occur. Worm treatments are recommended each 3 months at the beginning of spring, summer and autumn when warm wet conditions favour worm infections in adult chickens. Many of the worms that infect adult chickens require an intermediate host before they are able to infect them. A large part of worm prevention involves the control of these creatures that include cockroaches, beetles, houseflies, slugs and snails. Cleaning away any uneaten table treats each evening and applying insecticides to the surfaces of pens are a recommended routine used to help prevent these type of worm problems.

Recommended Adult Chicken Worm Routine:

Beginning spring - Levamisole or Prazole treatment
Beginning summer - GTWormer
Beginning autumn - Levamisole or Prazole treatment 

Withholding Period

There is a 7-day long withholding period following the administration of worm treatments. For those with back yard chickens I suggest you boil the eggs and feed them back to the chickens during this period of time. The benefit for the chickens following the worm treatment far outweighs the inconvenience of not having perfectly fresh eggs."

The Mississippi Sate University Extension Service website had this information, which lists other medications and good preventative methods, but no information about a withholding period:
"Tapeworms or cestodes are flattened, ribbon-shaped worms composed of numerous segments or division. Tapeworms vary in size from very small to several inches in length. The head or anterior end is much smaller than the rest of the body. Since tapeworms may be very small, careful examination often is necessary to find them. A portion of the intestine may be opened and placed in water to assist in finding the tapeworms.
The pathology or damage tapeworms produce in poultry is controversial. In young birds, heavy infections result in reduced efficiency and slower growth. Young birds are more severely affected than older birds.
All poultry tapeworms apparently spend part of their lives in intermediate hosts, and birds become infected by eating the intermediate hosts. These hosts include snails, slugs, beetles, ants, grasshoppers, earthworms, houseflies and others. The intermediate host becomes infected by eating the eggs of tapeworms that are passed in the bird feces.
Although several drugs are used to remove tapeworms from poultry, most are of doubtful efficacy. In general, tapeworms are most readily controlled by preventing the birds from eating the infected intermediate host. Tapeworm infections can be controlled by regular treatment of the bird with fenbendazole or leviamisole."

So, I have decided to reach out to the chicken-keeping community that I have come to know through my blog!  Have you dealt with tapeworms in chickens?  What is your advice?  Please leave a comment if you have!

And specifically...
After her bath, Mrs. Chicken got to spend the night
in the shower stall because it was frigid outside.
A bathed chicken can get chilled
and sick in the cold.

- Have you used Praziquantel or Worm-Out Gel?   What were the results?

- Have you come across any other reputable information about a waiting period for eating eggs after using Praziquantel?  (From a veterinarian, university, or other reputable source?)  And, if possible, could you share the source?


Thank you!
Katie (& chicken flock)


Join the Link Party fun!  This post linked up to... From the Farm Blog Hop and Simple Saturdays and Clever Chicks Blog Hop and Homestead Barn Hop and Backyard Farming Connection and Wildcrafting Wednesday and HomeAcre Hop


Wednesday, April 16, 2014

Flood Worries on the Farm

Last August, we had a few days of on-and-off rain.  We had lots of squishy ground around the farm, but nothing unusual for wet weather.  We also have a brook that runs down Ragged Mountain, which separates the house, large barn, and chicken coop from the smaller sugar house/barn, pastures, garden, and forest. It was running fairly normally.  In fact, I wasn't very concerned about flooding because the town had recently completed a large project in which sections of the brook were redesigned in efforts to reduce flooding on several properties and roads and address environmental concerns.

When I was a kid, I remember the brook drying up in the summer, except for a few small trapped pools of water where we would catch frogs.  Now, thirty years later, it runs year-round with a good amount of water.  In addition, a new stream has formed across the meadow which drains into the main brook, creating even more volume and causing concerns about part of the pastureland turning into a marsh.  Somewhere up stream, the land must have changed to create this surge of constant water and new watercourse.

That fall day had started off with some rain but cleared by mid-morning.  Farm Baby was taking a nap so I decided to bring out some food scraps to the chickens.  I was shocked when I stepped outside the door.  The brook had hopped it's bank and I could visibly see the edge of the water inching across the grass, towards the nearby chicken coop.  The water was rushing so fast and violently that I was worried that, if it reached the coop, it could sweep it off it's fieldstone foundation and send my hens down the river.  So, I had to evacuate the chicken coop.  As I watched the water rise up through their enclosed run, I made trips back and forth with my hens in cat carriers, relocating them to a stall in the stable.

When all twenty chickens were safe, I grabbed my camera to take photos and a video.  This first picture is at the height of the flash flood; the building is our sugar shack/small barn and the opening between the bushes in the center is the bridge, which is under water.  The watermark on the barn was up to my knees and everything in the barn had floated to the left corner, including heavy tack boxes and rubber stall mats.  The second photo shows how it normally looks (minus the logs and sand washed down) within minutes of the flash flood receding.


The chicken coop is a few feet from the play set, near the slide.  The water level rose several feet above it's normal level; the second photo shows it's normal height in the brook.


 This is the bridge over to the barn, with a tree and lots of branches lodged under it.


And here is the video.  Look closely in front of the barn and you can see a big log floating down.  Luckily, the horse was not in his stall and I didn't have to try to get him out, but everything in the barn was soaked and wedged against one corner.


Last night, we got a lot of rain and the water level started rising and rushing furiously.  I kept checking on it and was nervous all night, but it never hopped the banks.  Just to be safe, we moved the sheep over to the large barn, but poor Burt was scared and didn't want to cross the bridge with the water rushing so noisily underneath.  Eventually, a bucket of sheep feed prompted him to race full-speed across the bridge.

My grandma, who lived here before us, was always concerned about floods.  She lived through the 1938 Hurricane, of which she gave me photos of houses with exterior walls torn off, so they looked like eerie dollhouses.  The 1955 Flood was even worse.  (A photo Main Street in nearby Winsted is below.)  In Riverton, the water in the Farmington River rose so fast and unexpectedly that people were trapped inside homes and businesses.  I have a photo of the famous Hitchcock Chair Factory which, I heard, flooded within minutes and workers were trapped on the second floor.  A rope was strung across the river to the Riverton Inn and workers actually inched across the rope, over the river, to safety.  Our farm borders the Inn, but is on higher ground so was not flooded by the river itself, but suffered from the brook flooding and a massive rockslide/mudslide which filled the farm and road with a thick layer, several feet high in some areas, of rocks and mud.  After the devastation, the village's roads and bridges were impassable (or altogether missing) and the National Guard brought in emergency supplies by helicopter, which were able to land in our meadow.


Join the Link Party fun!  This post linked up to... Home & Garden Thursday and Down Home Blog Hop and The HomeAcre Hop and Green Thumb Thursday and Show & Tell Friday and Home Sweet Home and From the Farm Blog Hop and Simple Saturdays and Clever Chicks Blog Hop and Homestead Barn Hop and Backyard Farming Connection and Maple Hill Hop and Wildcrafting Wednesday

Sunday, April 13, 2014

Sour Cream Coffee Cake


We had a busy and productive start to our April Vacation and I felt like doing a little baking tonight, so I whipped up this super coffee cake after the kids went to bed.  Our day started with Farm Girl going to Story Hour at the library and then the penny auction at her school, where I won a massage and spa basket!!  She had a birthday party to attend and I went grocery shopping, then we all spent time outside moving the sheep over to our smaller barn with bigger pasture.  I spread grass seed in the barnyard where they spent the winter, which is pretty muddy and squishy in the spring.  We're trying rotational grazing with them, so we will move them through the different pastures as they eat down the grass.  Then, after dinner, JP and I set up a larger, gated area in the cellar for the ducklings, as they have quickly outgrown their brooder.

I adapted this great recipe from my Farm Journal Homemade Bread book.  I always thought coffee cakes were supposed to be difficult, but this one is really easy!  It has a delicate cake topped with lots of cinnamon crumbs.  BETTER than any Entemann's!

Sour Cream Coffee Cake

Ingredients for cake:
2 cups flour
1 tsp. baking powder
1 tsp. baking soda
1/4 tsp. salt
1 cup sugar
1/2 cup butter (or I substitute some Smart Balance for some of the butter)
2 eggs
1 tsp. vanilla
1 tsp. lemon juice
1 cup sour cream

Directions for cake:
1. In a large bowl with mixer at medium speed, mix together 1/2 cup butter and sugar until light and fluffy.  Beat in eggs well.  Beat in lemon juice and vanilla.
2. Reduce mixer speed to low and mix in dry ingredients alternately with the sour cream.
3. Spread batter evenly into greased 9" x 9" square pan or 10" tube pan.
4. Loosely crumble topping over batter (recipe follows).
5. Bake at 350 for 50-60 minutes, until a skewer comes out clean when inserted into center.  Cool pan on a wire rack.


Ingredients for crumb topping: 
2 cups flour
1 cup packed brown sugar
3 tsp. cinnamon
1/2 cup butter (or Smart Balance)

Directions for crumb topping:
1. Using your hand, mix all ingredients until crumbs form and can be pressed into a ball.


Join the Link Party fun!  This post linked up to... Clever Chicks Blog Hop and Melt in Your Mouth Monday and Sweet Sharing Monday and Homestead Barn Hop and Nifty Thrifty Tuesday and You're Gonna Love It Tuesday and Totally Talented Tuesdays and Backyard Farming Connection and Tuesday Talent Show and Tuesdays with a Twist and Whimsy Wednesday and Wicked Awesome Wednesday and Wednesday Whatsits and Show & Share Wednesday and Home & Garden Thursday and Recipe Round-Up and Share Your Cup Thursday and Down Home Blog Hop and The HomeAcre Hop and Show & Tell Friday and Home Sweet Home and Simple & Sweet Fridays and Foodie Friday and Show Off Friday and Frugal Friday and From the Farm Blog Hop and Simple Saturdays and Sour Cream Coffee Cake and Get Schooled Saturday

Wednesday, April 9, 2014

The Truth About Easter Pets: What to Consider First

When I was about 10 years old, my little sister and I were given baby rabbits as Easter gifts.  I remember, very vividly, going into the barn of a lady who bred rabbits in order to choose our pets.  I fell in love with a sandy-brown mixed breed rabbit and, lucky for me, she was for sale.  My sister chose a sweet, black-and-white Dutch. 

One of our Pekin ducklings at three weeks old.
Although the two female bunnies would be living together, we had three rabbit houses ready for them at home.  In the summer, they had both an outdoor hutch for the daytime and good weather and a larger hutch in the garage for night.  During the winter, they would stay indoors in our warm basement and had a large, safe, gated area to roam around in.  Inside their "corral", they also had wooden boxes with hay to sleep in and a litter box (yes, they were litter box trained!).  We brought Baby and Carrots (also affectionately known as Fat'n'Sassy) into the house often to play with them and give them exercise and attention. 

They were friendly and lovable pets... but also lucky that they got a good home.  We knew they would be with us permanently and would be part of the family.  We knew they would require care, cleaning, attention, proper housing, and would incur expenses.

However, the sad truth about Easter pets is that most are bought without taking into consideration the long-term commitments and plans.  They wind up shifted from home to home, in a shelter, put to sleep, or abandoned. 

I've had baby rabbits, chicks, and ducklings and, yes, they certainly are super-cute.  There is a lot more to consider though when deciding to get an Easter pet.  Here are some important questions to ask yourself first.

1.  Do you want some cute, little, fuzzy creatures to give as Easter gifts, or do you want long-term pets?  Baby animals grow quickly into adults.  Will you love the adults as much as you enjoy the babies?  Will your kids love the adult animals and spend time with them?  Or will they lose interest?  For example, will a five-year-old really want a full-grown rooster as a companion?  Probably not. Don't assume that the local farm will take in your animal either.  (When buying chicks, "straight run" means the chicks are a random mix of male and female. Roosters may or may not be OK around kids and more than one rooster can lead to fighting.)

One of our baby chicks from a year ago.  They are
now full-grown ladies!
2.  Who will take care of the animals?  Kids are notorious for promising to care for animals and then lose interest.  I think the best approach is to make caring for the animals something that the whole family does together, since kids learn about responsibility through example and helping, not by being forced to do it. 

3.  Do you know how much work is involved in caring for this animal?  Coops and hutches need to be cleaned regularly, plus there is the daily work of feeding and watering.  Will you mind going out in the snow and rain day after day?  Will shoveling out manure bother you?

4.  Is your property zoned for this animal?  Many towns do not allow chickens, ducks, or roosters, may have limits on the numbers, or have specifications for housing and containment (such as keeping coops a certain distance from neighbors or no free-ranging).  I would recommend emailing your town hall or animal control officer first; then, keep the email as written proof if a problem should ever arise.  Don't assume that they will let a broken rule get by, either, if you already have the animals.  The town can and will force you to remove animals that are not allowed.
You should also check with your landlord and get written permission if you rent your home.  At the Humane Society, many of the pets we took in were from renters who either did not get permission from landlords and had to get rid of the animal, or who were moving to a new home that did not allow pets.

5.  Can you afford this animal?  Can you afford vet expenses if the pet should need vet care?  When I worked at the Humane Society interviewing potential adopters, people often assumed "expenses" meant the cost of a bag of food.  For rabbits and birds, include housing (a coop or hutch with plenty of space for full-grown animals), feed, bedding, hay, vitamins and supplements. 

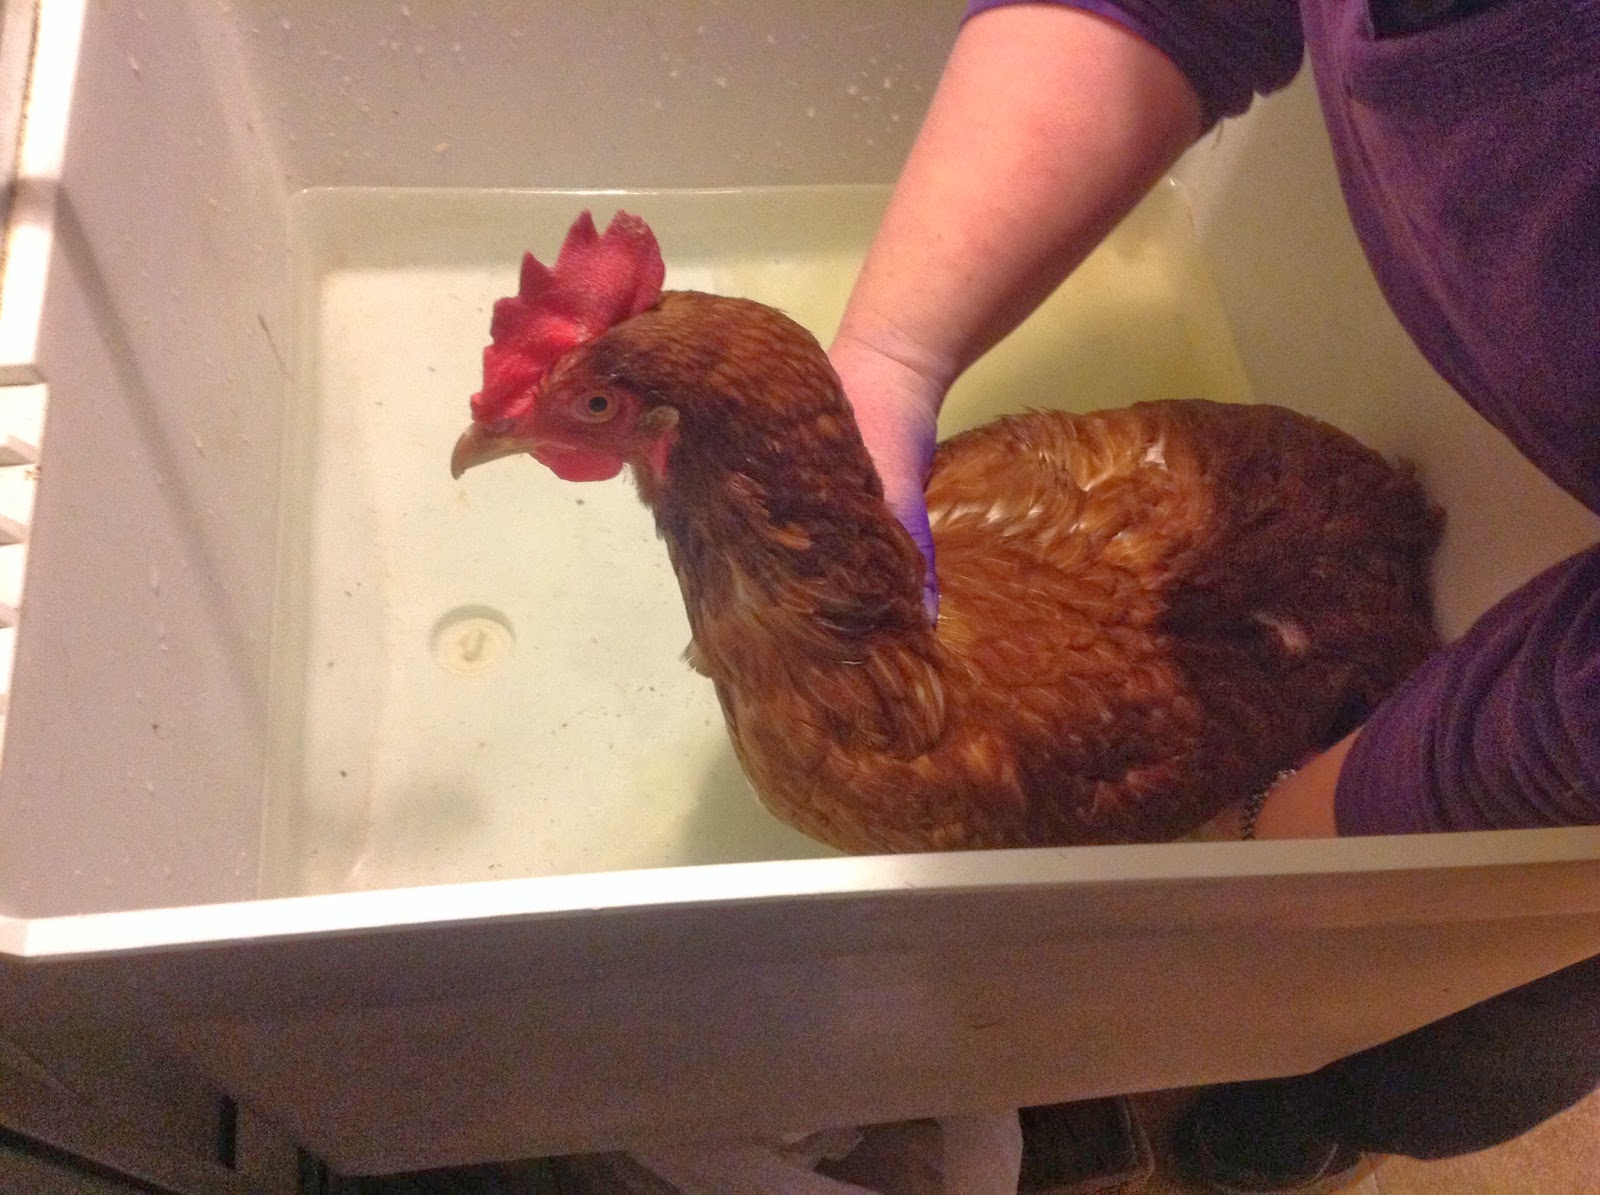
6.  Can you afford to bring the animal to the vet if they get injured or sick?  Baby, our Dutch rabbit, developed kidney stones later in life and needed surgery to survive.  I also had to seek veterinary advice and fecal testing when my flock of chickens developed diarrhea.  Problems do and will occur... make sure you can handle it before bringing the animal home.

7.  Are there rescue organizations or shelters where you can get a pet instead?  Most humane societies have rabbits for adoption and there are many rabbit rescue groups across the U.S.  A bonus is that they have been checked by a vet.  You can also see the personalities of adult animals better and can chose a pet that will fit your family.

8. Do you have enough space and the proper housing for this animal?  Chickens need a minimum of 4 sq/ft per bird of coop space if they have an additional outdoor run.  (If you only want two or three chickens, movable chicken tractors are a great option.)  Ducks are larger and will need more space, plus room for a kiddie pool as they get older.  Both types of birds will need secure, locked housing for night.  In addition, my personal opinion is that birds should have an outdoor run that is fully enclosed from predators (including the top); dogs, raccoons, coyotes, and even hawks will kill chickens and ducks given the chance, as well as the danger of passing cars. 
Rabbits, also, need plenty of space to run and play in order to stay healthy and happy.  An extra-extra-large dog crate is often OK as long as the rabbit gets out to play often.  Litter box training is the best option since you can then keep bedding on the cage floor instead of a wire floor.  Rabbits should also not be in an outdoor hutch that is exposed to the elements during very hot or cold weather.  Also, it's great to let a rabbit out in the house to play (especially if litter box trained), but they need to be watched closely because they can be killed by chewing on electrical cords.

Our new ducklings at three weeks old.  We have
four Pekins (yellow) and two Rouens.
9. Have you done your homework on the care and health of this type of animal before getting it?  Before getting new animals, I get a book on that type and read it cover-to-cover.  I make sure I have the proper housing and food, know how to care for them, and that I'm familiar with health problems.  Researching breeds is also important to know their personalities and size.  (Leghorn chickens are unsuitable for kids since they can be flighty and nervous, while my Ameraucanas are pretty calm and easy to handle.  The pros and cons of bird breeds can vary widely.)  When we moved to our farm, we had never owned sheep, chickens, or ducks before.  The books I found most helpful were Storey's Guide to Raising Sheep, Storey's Guide to Raising Chickens, Keeping Chickens by Ashley English, and the blogs Fresh Eggs Daily (for both chicken and duck-keeping) and Tilly's Nest (chickens).
Baby animals require specialized care.  Learn the proper way to care for them and have everything set up before you bring them home.

10.  Do you have the time, space, and knowledge to care for baby animals in your home?  Chicks, ducklings, and baby rabbits need a lot of care, cleaning up after, and attention.  When we got our Pekin and Rouen ducklings three weeks ago, I knew they would love to play in their water and make a big, wet mess in their brooder... and did they ever!  I spend a half hour every evening and morning cleaning their wet brooder so they won't get chilled and sick.  Be ready for constant cleaning and care when they are little.


This was a featured post on Tuesdays With A Twist!  Thanks Mary @ Back to the Basics!


Join the Link Party fun!  This post linked up to... WildCrafting Wednesday and Whimsy Wednesday and Wicked Awesome Wednesday and Wednesday Whatsits and Down Home Blog Hop and Home & Garden Thursday and The Mommy Club and The HomeAcre Hop and From the Farm Blog Hop and Simple & Sweet Fridays and Home Sweet Home and Simple Saturdays and Simply Natural Saturdays and Motivation Monday and Clever Chicks Blog Hop and Homestead Barn Hop and Backyard Farming Connection and Tuesday Talent Show and The Maple Hill Hop and Tuesdays with a Twist